Saturday, December 31, 2011

Christmas 2011


We hope everyone had a wonderful Christmas this year and that the Nativity of our Lord, Jesus Christ, takes place in your hearts every day.  As we get ready to welcome the new year and we look with hopeful hearts to what it could bring, we offer you peace, love and friendship.  May God abundantly bless you and yours! Cheers!

Here are some pictures of our decorations around the house.

Kitchen Tree
I never got around to adding the tree skirt.  Usually I use a pink afghan as the skirt but this year, it was being used elsewhere.  Oh well!


This was our very first ornament from our very first Christmas together in 1995.


Our angel tree topper.  One of my favorite ornaments for our main tree.
Mateo's tree
Mateo has had a tree in his bedroom since he was a baby.  This year, I decided to put his tree in our family room because his bedroom is under transition right now. Every year we buy a new ornament for his tree.

This year's addition: Jack Skellington
The Nightmare Before Christmas is one of my favorite movies.


Instead of hanging our stockings on our mantel, I like to hang them on the door knob of the bedroom doors.  Yup, you guessed it, these are mine and Mr. Casillas' stockings.


Blessings!
XOXO


Thursday, December 29, 2011

Cookie Lessons

For months, my sister-in-law, Jeanette, has been talking to me about her colleague, Shannon, who is the hostess over at the misanthropicHostess blog.  Her blog is a great source for baking tips and ideas.  Shannon is very knowledgeable and her writing is witty and fun.  I have been enjoying her blog since Jeanette first mentioned it.  Jeanette, the forever matchmaker, had been trying to get us to meet, but for some reason or another, that meeting didn't come to be until just a couple of weeks ago.  Jeanette arranged a little cookie decorating clinic with Shannon and I was happy to open up my kitchen so that I may extract a few tips and secrets from Shannon in person. I have to stay, Jeanette was right; we really hit it off.  We now have a future clinic penciled in for macarons.  Yay!! I'm so excited since you all know how much I enjoy making and eating macarons.

Here are a few tips I learned from Shannon:
  1. When making your sugar cookie dough, you can immediately roll it out between two layers of parchment paper, layering them on a cookie sheet.  You can then refrigerate your rolled out cookie dough until you are ready to cut the shapes (at least 30 minutes, but preferably overnight).  If you do this instead of refrigerating the dough in a ball, it is ready to go when you are and it makes cutting the shapes faster and easier.  When you're ready to cut the shapes, take out a layer of rolled out dough one at a time and cut, then place the cut shapes on another cookie sheet that you may also layer between parchment paper and refrigerate those at least 15 minutes before baking.  The cookies will hold their shapes better when baking.  Later, when I tried this on my own, I arranged the shapes as I would on my cookie sheet for baking and when I was ready to bake, I just transferred each layer with the parchment paper onto a cookie sheet and baked.  It was so much faster and easier!
  2. A thick cookie is better than a thin one.  I used to roll out my cookie dough too thin and sometimes my cookies would break, especially the ones with delicate shapes.  By rolling out the dough a little thicker (about 1/4"), you get a sturdier cookie and there is more cookie to eat and it actually tastes better!
  3. For the royal icing, you do not need egg whites or meringue powder.  All you need is simply confectioners sugar and water.  I used to use egg whites and I always worried about the raw eggs.  Now I will always use water!  Shannon also uses lemon juice instead of water for a flavoring variation.  I'm sure you can also use other flavorings like a few drops of colorless vanilla, almond and peppermint extracts.  Ooh, I think I'm going to try that next time.
Here are a few pictures from our cookie clinic:

Everyone brought their cookies baked and ready to decorate

There's Shannon (far left)


Making the royal icing


Even Nico got to learn

The ladies and their creations

Mine

Viviana's.  She is turning out to be quite the baker and decorator.

Cari's

Soon, I will post pictures of my Christmas cookies.

XOXO


Monday, November 14, 2011

Coco's Candied Pumpkin

As promised in Saturday's post, here is the recipe for my mom's candied pumpkin. Once you have made the candied pumpkin you can freeze it and use it for just about anything, pumpkin bread, empanadas, pies, your imagination is the limit. Please excuse the picture. I realize it's not a very nice picture but I wanted you to have an idea of what the pumpkin should look like when it is done.

 Ingredients:
3 lbs. standard pumpkin
1 1/2 sticks cinamon
1/4 tsp. nutmeg
1 box (16 0z.) dark brown sugar
1 cup water

Cut pumpkin in half to scrape out guts and seeds.  You can reserve the seeds for making toasted pumpkin seeds. Cut the halves into 2 inch pieces.  Do not remove skin.

Place all ingredients in a large saucepan over medium to high heat and bring to a boil.  Reduce heat and let simmer for about 2 hours until liquid has reduced and become syrupy and pumpkin is tender.

If you are going to use the candied pumpkin right away, let it cool completely.  You can store in refrigerator in an airtight container for about a week.

When you are ready to use, remove skin with a spoon and mash it up.

I like to eat it a few pieces, skin and all, with a glass of milk.  Hmm hmm hmm.

That's it!  It so easy and oh so yummy.

And now for something else that's orange, here's Red Beard taking a little nap by the warm stove.  He looked so cute and cuddly.
Oh, sorry to wake you from your tenth nap of the day, Red Beard!


Saturday, November 12, 2011

Pumpkin Pancakes

One of our favorite weekend breakfast treats are homemade pancakes. They are so easy to make, so versatile, and you really can't mess them up. You can add just about anything to the batter.  No matter what flavor I am making, I always like to add a tablespoon  or two of sour cream.  The sour cream gives the pancakes a creamy and fluffy texture and it adds an undertone of sourness that goes so well with the sweetness of the batter. 

Last night my mom gave me some candied pumpkin that she had made so this morning we had pumpkin pancakes. Here's what you need fo the pancakes:
1 Cup All-Purpose Flour
1 Tablespoon Sugar
1 Teaspoon Baking Powder
1/4 Teaspoon salt
1 Cup Coco's Candied Pumpkin (will post recipe soon)
1 Tablespoon Melted Butter
1 Cup Milk
1 to 2 Tablespoons Sour Cream
1 Egg

In a large mixing bowl, combine flour, sugar, baking powder and salt.
In a separate bowl, mash up the candied pumpkin with the back of a spoon (like the picture below), add to it the melted butter, sour cream, and egg and mix it up.
Add the wet ingredients to dry ingredients and add milk. Whisk until well combined.  If the batter is to thick, add milk a tablespoon at a time.  If it is too thin, add flour a tablespoon at a time.  Do this until you have the consistency you like.

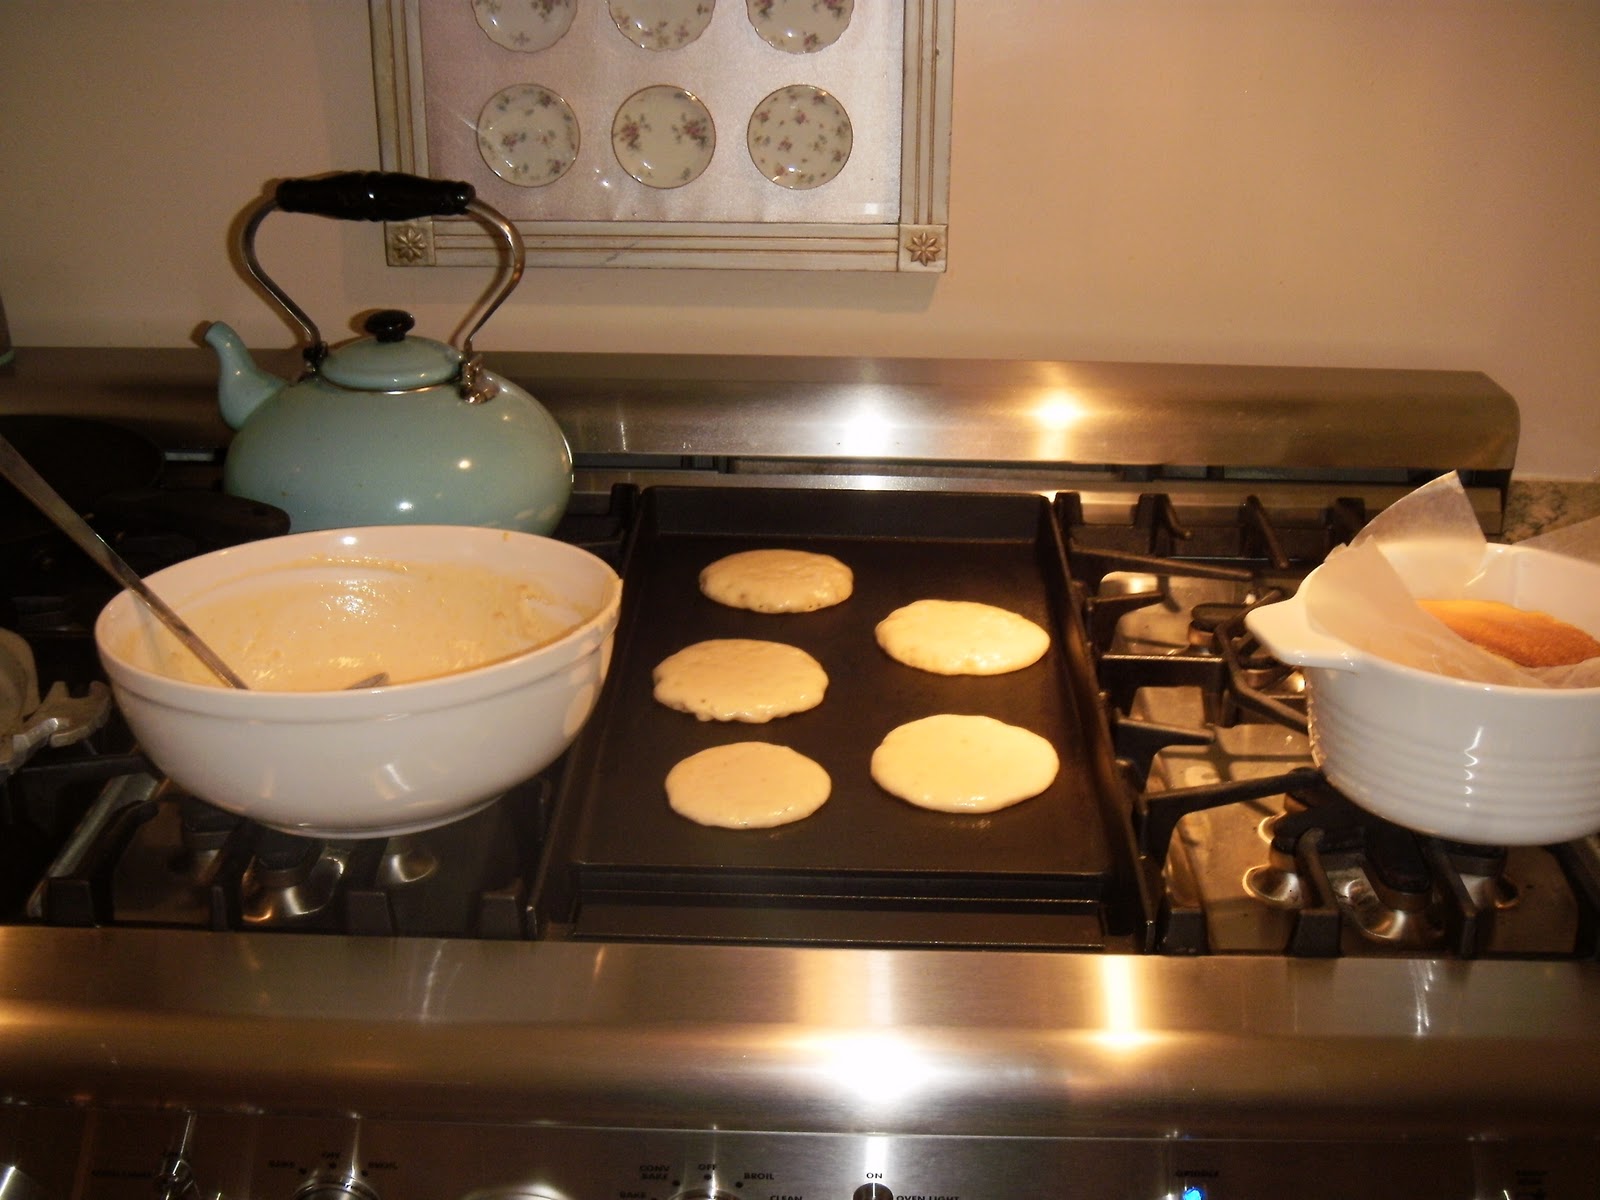
My range has an awesome griddle that I have only used for pancakes.  I do not butter the griddle but I spray it lightly with butter flavored cooking spray.  I use a small ladle to ladle the batter onto the griddle.  This makes approximately 6 inch pancakes.

Once the batter is bubbling and it looks cooked around the perimeter of the pancake, flip them and cook briefly on the other side.
I like to add a small dot of butter as they come off the griddle.  Hmm.  Don't they look yummy?

The leaning tower of pancakes
I like my pancakes with honey instead of maple syrup and a little sprinkling of walnuts.
Hope you make this recipe.


Thursday, November 10, 2011

Alec's Yo Gaba Gaba Birthday Party

Is there a kid in this country that is between the ages of 2 and 5 that is not crazy about Yo Gaba Gaba? I don't think so. My nephews Luc and Alex are obsessed. As promised in a prior post, here are some pictures of Alec's Yo Gaba Gaba birthday party:


Jeanette found this on-line and asked me if I could make one like it.  I wasn't sure if I would be able to but it was very easy.  The kids loved it.


I found this pattern on sew fearless and thought it was a great idea so I made a Brobee and Muno version for the boys.  I think they came out very cute.


Happy Birthday, Alec!  We love you!
Thank you for the fun party.